PORTABLE DIGITAL TEMPERATURE CONTROLLER & REMOTE
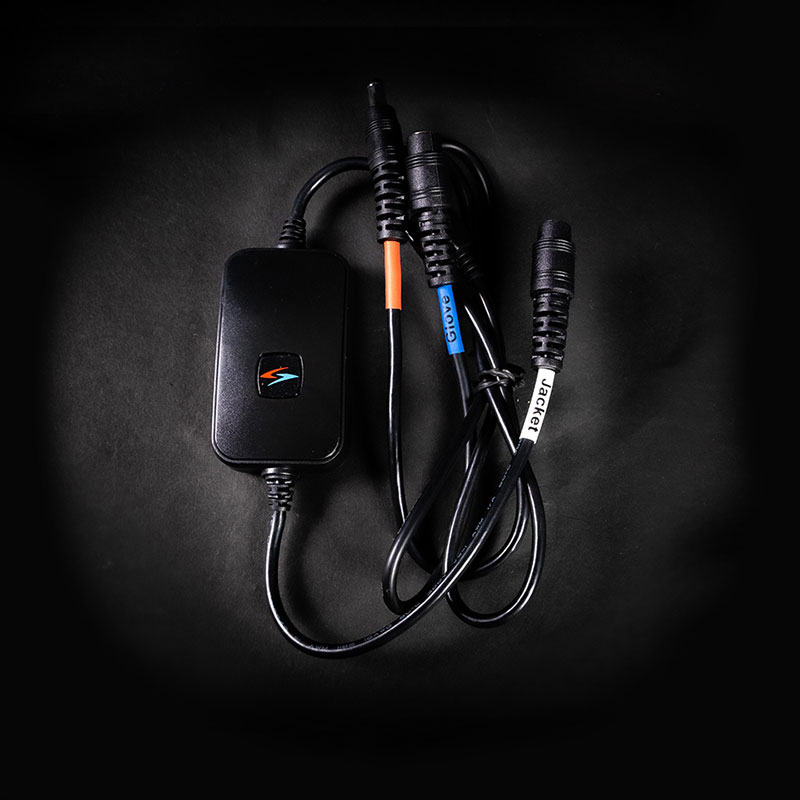
The new digital portable temperature controller by Gerbing has the possibility to regulate the temperature of a heated jacket liner or a heated pant liner. This controller can easily be connected straight to the battery cable and to the connection plug of the jacket or pants.
You can also connect this controller to the plug inside the jacket to connect a pair of heated gloves. You connect the part with the box to the “jacket” connection and the other plug to the “gloves” connection. You can connect the gloves to the plugs which are in the sleeves of the jacket and then you can adjust the temperature with the push buttons on the gloves.
All our gloves can be connected this way but for motor cycle use we advice you only to use heated motorcycle gloves like the XR gloves, XRL gloves, XRW gloves and the GT gloves.
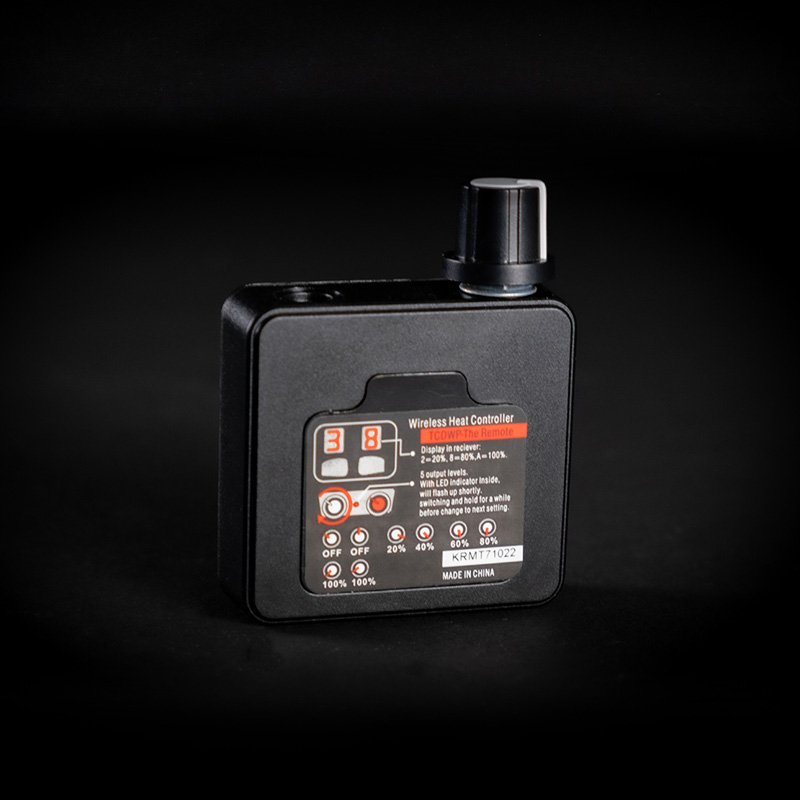
You can adjust the temperature by pushing on the button of the controller. There is also an option to use a remote control. If you buy a tempearture controller you can always purchase a remote afterwards. You can pair any remote with the portable digital temperature controller.
FEATURES
- The portable digital temperature controller has five different settings
- The controller is designed to remember the last setting. It will automaticly recall the last heat setting when you reconnect to the battery cable. To activate this memory you have to disconnect the controller after use instead of turning it off
- You can set the temperature of a Gerbing heated jacket and heated pants.
- Digital controllers ensure that your heated clothing uses only as much power as requested
- Wires are UL listed and completely safe, in all weather conditions.
- The warranty period is two years
- Attach this controller to any solid object with Velcro® or place in the pocket of the heated jacket.
When a remote is aquired you need to connect the remote to the PDTC.
PAIRING YOUR GERBING REMOTE UNIT WITH A GERBING CONTROLLER
- Ensure both the remote unit and the main controller are within a metre of each other.
- After connecting to the power source, press the button on the main controller unit (the one attached to your jacket) for 3-4 seconds.
- The LED window will display a flashing letter ‘A’.
- Turn on the dial of the remote.
- Once pairing is successful the LED window on the main controller will display a number.
- The remote control is now activated and ready to use.
Do you have a question?
Do you have a question or would you like some more information about a certain product?


